Knitting for Beginners : Create amazing Fabric Manipulations !
This article aims to present you the basic techniques of knitting, so that you can start making some samples for your textile manipulation researches ! Plenty of websites can teach you how to make knitted garments, machine knitting or more advanced patterns, but here, we are all about Fabric Manipulation. I loved learning how to make the basic patterns to start having fun with my needles and yarns, so that’s what I will teach you in this article : how to begin knitting by hand to create fabric manipulations !
Pictures and videos in this article aren’t mine, but links are always there !
Knitting Inspiration
Knitting isn’t only a weird grandma hobby, it can also be something super fun, cool and creative ! Have a look at my Pinterest board full of cool knitted ideas to see what I mean : Knitting & Crochet ~ Textile Manipulation
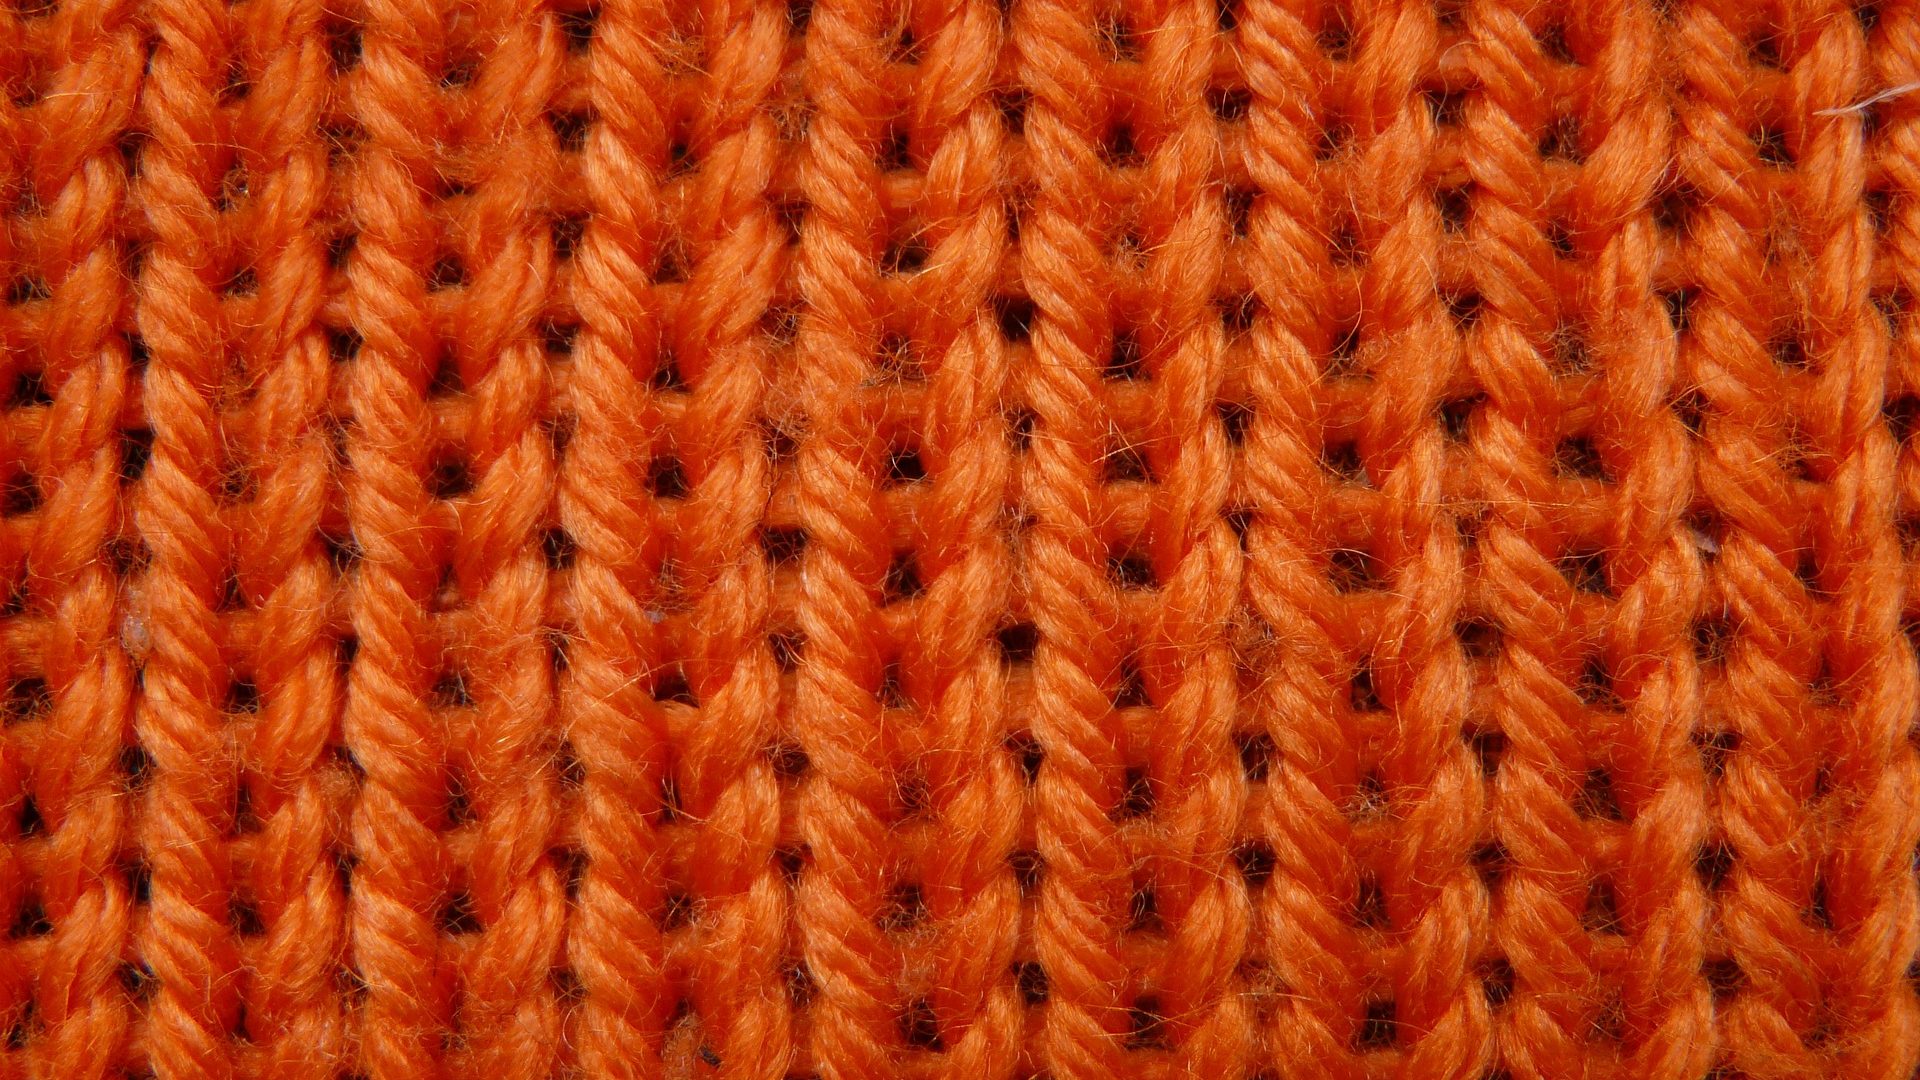
Knitting is obviously used a lot in fashion garments.
A trend that appeared a few years ago was arm knitting, as in using your actual hands and arms to knit, creating hugeeee, comfy and fluffy knits, usually blankets !
Knits can also be used in home textiles, mostly for cushions and plaids.
But I believe knit is widely underrepresented, and there are tons of ideas that haven’t been explored yet ! So learn how to knit, and start having fun creating unseen before designs !
Material for Knitting
The great thing is that you only really need 2 things to start knitting : Yarn, and Needles. Let’s see all the crazy things that exist !
Yarns
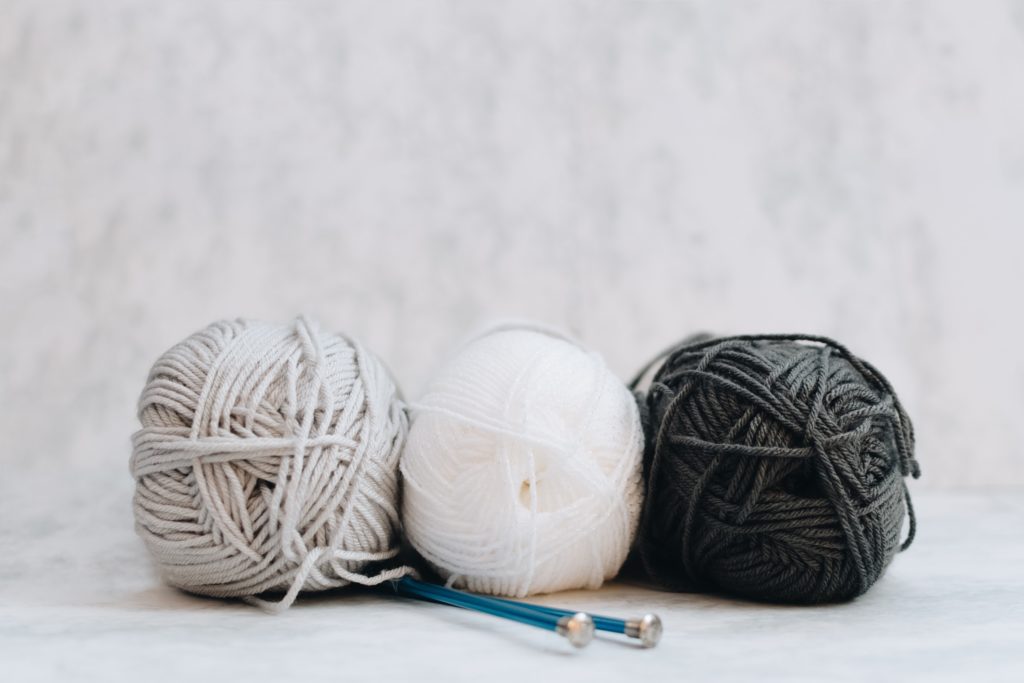
A crazy amount of different yarns exist, and although is super cool, it can be confusing.
You can choose them by composition, by look, by texture (softness, touch, etc)…
The most common yarn composition to knit is woolens : regular wool, baby sheep, mohair, cashmere, alpaca …
Then there are also cottons, and some non-natural options, including acrylic that mimics well wools but is cheaper.
In the beginning, if you’re not too familiar with the different options, go to your local store and TOUCH everything ! You’ll soon feel the differences, and be able to choose what you need.
The possibilities are endless, the textures are so different, the sizes as well … So try a lot of different things to see what you like best !
Now that you have your yarn, let’s get you the most important tool in knitting : the needles !
Needles
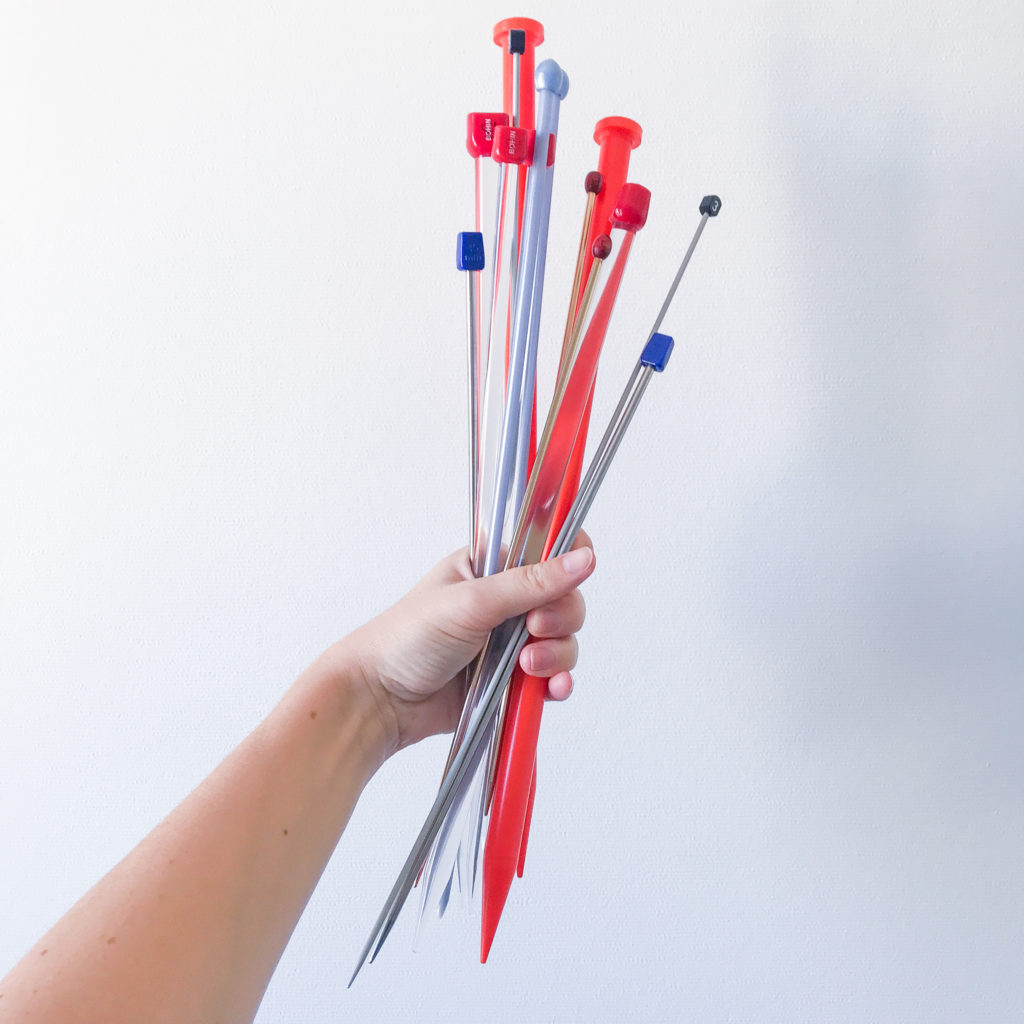
You can start knitting with a pair of straight needles, as in this picture. You can already see that there are a lot of different ones as well !
The most common ones are the straight needles, but know that there are also circular needles as well that help you create garments without stitches.
Each needle has a size written on it, and that will influence the final look of your knitted piece.
The bigger the number, the bigger the needle.
The bigger the needle, the larger loop they will create.
Simple, no ?
The number represents the thickness of the needle itself, usually ranging from 2 to 15 mm (US sizes differ a little, but use the same principle ; bigger number = bigger needle size).
They can be made in plastic, in metal or in bamboo. Plastic is the less expensive option, but they are a little bit less resistant. Metals are really good and more resistant, but they can slip and they usually don’t exist in bigger sizes. Bamboo needles are the best but more expensive !
To start though, you can try with any type of needle that you find around your house, you won’t really see a big difference.
When you buy your yarn, the packaging will usually indicate what needle size is optimal for the yarn. You can follow the instructions… or test knitting needles that are way too big or way too small, and see what happens !
How to knit
Knitting is all about making loops with a yarn, and passing through it thanks to your needles.
You are working line by line, and the way you put the new yarn into the previously made loops makes different patterns.
On simple knits, one row will appear on the right side, and the next on the wrong side.
You’ll need to know how to put the first line on the needles, which is called casting on. Then, you’ll make your pattern in order to create the sample. And in the end, you’ll cast off your work, aka taking it away from the needles and finishing your sample. Let’s see all these 3 steps !
How to start a knit sample : Casting on
The first thing to do is to create the first row of loops. They are often the same, and you start your pattern only in the second row [Some projects need a special first row, and several techniques exist to create refined effects on the beginning of a knitted piece but hey, we are just making samples and testing the technique here !].
Watch this video to learn how to make this yourself !
You may need a couple of trials before you get this, but that’s okay ! Don’t worry, you can do it ☺️
After casting your first stitches, learn the basic technique of knitting : the knit stitch !
The Knit Stitch

This is the part were you ACTUALLY learn how to knit ! Read the video just above to see exactly how to make it.
The Knit stitch is the base for a various number of patterns, that we’ll see in a minute !
The Purl Stitch
This is the second most useful technique to know after the knit stitch, because knowing how to make both will allow you to create a great number of patterns, just by alternating these two !
The Purl stitch is just a reversed way to make the knit stitch, and that creates some “V” on the fabric.
Watch this video to see how to knit the purl stitch !
How to finish a knit sample : Casting off
When your sample is finished, if you just take it off your needles, your entire work will come undone. You need to cast it off before !
It is quite easy [I found it easier than casting on] : start by knitting 2 stitches. Then put the one on the right on top of the other, stitch one, put it on top, and continue until you’re done. The goal is to always have only one stitch on your right needle.
Don’t worry, I know it’s easier to see than it is to read, so I found for you this super helpful video :
Knitting Pattern list
As for any wovens, there are a lot of different patterns that can be made, to create different textures and surfaces. Let’s see the most popular ones together !
Related : What are the differences between woven, knitted and non woven fabrics ?
Basic patterns :
Here are the most common patterns using only the Knit and Purl stitches :
The Garter Stitch :
Using the very basic knit stitch all the time will create a Garter pattern. That’s probably what you’ve just made, if you tried knitting using the videos above ! It is looking the same on both sides.
Stockinette :
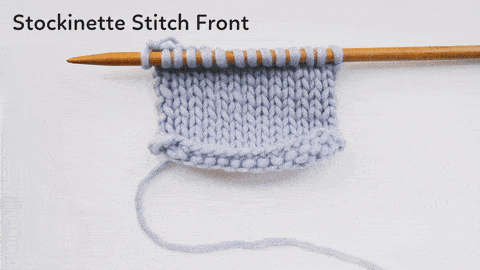
Knitting 1 Knit Row, and then 1 Purl Row (and doing it again until you reach your desired sample size) is going to create the Stockinette pattern.
It creates a Garter pattern on one side, and a purl pattern on the other side.
Watch this video to learn step by step how to make it yourself !
Rib :
To create vertical bands, use the rib patterns ! On one row, alternate purl and knitted stitches.
If you want super thin lines, alternate one of each ; if you want larger lines, make 2, 3, 4 or more purl then the same amount of knit.
Or maybe try something irregular, and see what happens ! Remember, you’ll find your best fabric manipulations samples by testing things out 😍
Watch this video to learn how to make 2×2 Rib (aka 2 knit stitches, then 2 purl stitches, then starting again, all on the same row)
And so many more basic patterns using knit + purl exist ! Check out Studio Knit SF for more pattern inspiration !
Find one you like and start knitting ASAP !
Cable Knits :
Traditionally used on sweaters, cable is patterns that create a 3D effect on your knit. [Being obsessed with 3D effects, I love to play with these !]
It look like you put twists on your knit.
To make these, you need a third needle, like on this picture :
If you want to try cable knit, have a look at this article from Handy Little Me : she has a lot of different styles in stock and great tutorials !
There are so many other techniques, and this website seems to have quite a lot of them : Knit Stitch Patterns
Tips for a faster start at knitting
We use knitting for fabric manipulation, and usually we want to create volume. So start with the biggest yarns and needles you can find ! Do some small samples (10 to 20cm) just to test the technique !
I love to test every pattern that seems interesting, then consign them inside a notebook, writing how I made it, and the pattern’s name. [Trust me, even if you think you can remember how you made them, you actually won’t 😅] That’s how I go faster at each project, because I have a library of patterns and effects !
As always, once you find one pattern you like, try it with different yarns and needles ! A very thin yarn with thick needles will produce something airy and super open, while a thick yarn with thin needles will make something compact and dense.
It’s time for you to test everything, and share your results in the Facebook group !
If you enjoyed this article, and want to read about all the new ones coming, subscribe to the newsletter ! 👇🏻 I’m writing each week about textiles and creativity.


You can also have a look at all the Free Ressources I have made for you, and see which one can help you most !

Floriane Schmitt is a textile designer, sharing her knowledge about textiles + creativity. She graduated with honors at a Parisian fashion school in Fashion Design & Fashion Business, and started her career with Flo Home Delight, her creative textile studio. Discover her collections on www.flohomedelight.com. She is also teaching creative souls how to become better designers, using textile as a main medium.


You May Also Like
Canadian Smocks : The Complete Guide
How to Invent New Fabric Manipulations ?